Building the Automation Engine: DevOps the Right Way
Building the Automation Engine: DevOps the Right Way
Modern software teams are under constant pressure to ship faster, stay secure, and keep systems reliable — all at once. But many teams end up with a patchwork of tools, copied YAML files, and pipelines nobody wants to touch.
This article walks you through the core principles and tools that make up a mature, well-structured DevOps setup — from GitOps fundamentals to security, secrets management, and getting the most out of every tool you adopt.
1. Why GitOps Instead of Traditional CI/CD?
In a microservices world, where you might be managing dozens of small services, traditional CI/CD pipelines can quickly become complex. Each pipeline is responsible for pushing changes to the cluster, which makes it harder to keep track of what's running and even harder to roll back safely.
GitOps takes a different approach. Instead of pipelines pushing changes, your cluster pulls the desired state from Git. Everything — from app versions to configurations — lives in Git, making it your single source of truth.
Tools like ArgoCD and Flux don't just apply manifests to the cluster; they continuously watch the cluster for any drift. If someone changes something manually, these tools automatically fix it by syncing back to what's defined in Git. They even clean up old resources that no longer exist in Git — something traditional push-based pipelines can't easily handle.
2. Flux vs ArgoCD — Choosing the Right GitOps Tool
Once you've decided to adopt GitOps, the next question is: which tool? Both Flux and ArgoCD are excellent choices, but they have different strengths.
🎯 Installation and Setup
Flux is lightweight and integrates directly with Kubernetes with minimal setup.
ArgoCD comes with a server and web UI, which takes a bit more configuration but gives you a full visual control plane.
🖥️ UI vs CLI-First Approach
ArgoCD has a rich web dashboard where you can track apps, see sync status, and monitor health — great for teams who prefer visuals.
Flux has no built-in UI; it's CLI- and Git-first, making it ideal for automation-focused environments.
💬 Notifications and Integrations
ArgoCD includes built-in notifications and webhooks that work with Slack, Jira, and more.
Flux supports notifications through a separate Notification Controller, offering flexibility at the cost of some extra setup.
🧩 Helm Release Management
This is where the two tools differ most significantly.
Flux manages Helm as a first-class citizen through its Helm Controller, which continuously watches your Git repo and manages releases end-to-end. You define two main resources in Git:
A
HelmRepository— where your chart livesA
HelmRelease— what version, values, and settings to apply
# helmrelease.yaml
apiVersion: helm.toolkit.fluxcd.io/v2
kind: HelmRelease
metadata:
  name: myapp
  namespace: production
spec:
  interval: 1m
  chart:
    spec:
      chart: myapp
      version: 1.2.0
      sourceRef:
        kind: HelmRepository
        name: myrepo
  values:
    image:
      tag: v1.0.0
Update the image tag to v1.1.0 and push it to Git — Flux automatically detects the change, runs helm upgrade, and syncs the cluster. No manual command needed. If someone manually changes something in the cluster, Flux notices the drift and heals it back to Git's state.
ArgoCD, on the other hand, treats Helm more like a template engine. It runs helm template behind the scenes and applies the resulting manifests to your cluster. It doesn't manage Helm releases natively — no helm upgrade hooks, no rollback history, no automatic resync of Helm releases.
Simple takeaway: With Flux, Helm behaves like it should — versioned, continuously managed, rollback-friendly, and self-healing. With ArgoCD, Helm is primarily used to render YAML, not to manage a living Helm release.
3. Why Use Helm at All — The Mental Model
Before going deeper into GitOps tooling, it's worth understanding why Helm itself is valuable.
Helm bundles all those Kubernetes YAML files into a single chart and lets you customize them through a simple values.yaml file. Instead of manually editing dozens of manifests, you tweak a few values in one place.
For example, deploying Prometheus from scratch would require hunting for 40–50 manifest files covering deployments, services, RBACs, and CRDs. With Helm, it's a single command:
helm install prometheus prometheus-community/kube-prometheus-stack
When deploying tools like Prometheus, Grafana, or Traefik, Helm gives you:
✅ Tested, community-maintained charts with sensible defaults
✅ No need to write or maintain custom manifests from scratch
✅ The ability to override only what you need (storage size, ingress host, alert rules, etc.)
✅ Easy upgrades — just bump the chart version, no YAML chaos
4. Managing Secrets Safely — Sealed Secrets
Kubernetes Secrets are meant to store sensitive information like passwords, tokens, and API keys. But there's a critical problem — they're only base64-encoded, not encrypted. Anyone with access to your cluster or Git repo can decode them instantly.
Cloud vs On-Premise — A Different Problem
If you're running on a managed cloud Kubernetes service, you likely have access to a native secret management solution:
AWS EKS → AWS Secrets Manager / Parameter Store (via External Secrets Operator)
Azure AKS → Azure Key Vault (via CSI driver or External Secrets Operator)
GCP GKE → Google Secret Manager (via External Secrets Operator)
These cloud-native solutions are tightly integrated with IAM, support automatic rotation, and offload the encryption burden entirely to the cloud provider. If you're on a managed cloud cluster, use these first — they're purpose-built for this.
But what if you're running Kubernetes on-premise — on bare metal, VMware, or private infrastructure? You don't have Key Vault. You don't have IAM roles. You're on your own.
This is exactly where Sealed Secrets becomes the practical, battle-tested answer.
What Is Sealed Secrets?
Sealed Secrets is an open-source project by Bitnami that lets you safely commit encrypted secrets to Git — the GitOps way. It works entirely within your cluster, with no dependency on any cloud provider.
How Sealed Secrets Work
Sealed Secrets rely on a public–private key pair:
A Sealed Secrets Controller runs inside your Kubernetes cluster and holds the private key, which never leaves the cluster.
You use the public key on your local machine to encrypt secrets before committing them to Git.
Think of it like a lockbox: you lock the secret with the public key (safe to share), and only the controller inside the cluster can unlock it with the private key (kept secret). Even if someone sees your encrypted secret in Git, they cannot decrypt it without direct access to your cluster.
Using kubeseal
First, install the Sealed Secrets Controller in your cluster:
helm repo add sealed-secrets https://bitnami-labs.github.io/sealed-secrets
helm install sealed-secrets sealed-secrets/sealed-secrets -n kube-system
Then fetch the public key from your running controller:
kubeseal --fetch-cert \
  --controller-name=sealed-secrets \
  --controller-namespace=kube-system \
  > pub-cert.pem
💡 On-premise tip: Save this
pub-cert.pemsomewhere accessible to your team (like an internal artifact repo or shared drive). Developers need it to seal secrets locally without needing direct cluster access every time.
Now create a normal Kubernetes Secret locally (without applying it to the cluster):
kubectl create secret generic my-secret \
  --from-literal=password=MyS3cretP@ss \
  --dry-run=client -o yaml > my-secret.yaml
Then encrypt it using the kubeseal CLI, using the cert you fetched:
kubeseal --format yaml \
  --cert pub-cert.pem \
  < my-secret.yaml > my-sealedsecret.yaml
This produces a SealedSecret file that looks like gibberish — totally safe to commit to Git.
Once you push it through your GitOps pipeline and it lands on the cluster:
kubectl apply -f my-sealedsecret.yaml
The Sealed Secrets Controller automatically decrypts it back into a normal Kubernetes Secret inside the cluster.
Key Rotation
The controller automatically rotates its key pair every 30 days by default (configurable). When a new key pair is created, old ones are retained so existing SealedSecrets can still be decrypted during the transition.
⚠️ On-premise critical warning: If your cluster is destroyed and rebuilt (common in on-premise DR or cluster migration scenarios), the private key is lost with it. You must back up the controller's private key manually and restore it after rebuilding, otherwise all your SealedSecrets become permanently unreadable.
Back up the key like this:
kubectl get secret -n kube-system \
  -l sealedsecrets.bitnami.com/sealed-secrets-key \
  -o yaml > sealed-secrets-master-key-backup.yaml
Store this backup somewhere secure and offline — not in Git. Treat it like your cluster's root password.
On-Premise Alternatives Worth Knowing
Sealed Secrets is the most common approach for on-premise GitOps, but it's not the only option:
| Tool | How it works | Best for |
|---|---|---|
| Sealed Secrets | Encrypts secrets with a cluster-held key; stored in Git | Pure on-prem GitOps, simple setup |
| HashiCorp Vault | Full secret management platform; apps fetch secrets at runtime | Large teams, fine-grained access control, secret leasing |
| SOPS + Age/GPG | Encrypts files using age or GPG keys; works with Flux natively | Teams already using GPG/age key infrastructure |
| External Secrets Operator | Syncs secrets from an external store (Vault, AWS, Azure) into K8s | Hybrid setups where Vault is already in place |
For most small to mid-sized on-premise clusters, Sealed Secrets hits the sweet spot — low operational overhead, no extra infrastructure, and it works natively with any GitOps tool like Flux or ArgoCD.
If your team is larger or needs features like dynamic secrets, secret leasing, or fine-grained audit logs, HashiCorp Vault is worth the investment despite its steeper setup curve.
5. Keeping Pipelines Clean — Templatization and Structure
As projects grow, CI/CD pipelines tend to become a dumping ground — full of copied YAMLs, inconsistent variable names, and undocumented scripts. Application code gets reviewed carefully; pipeline code rarely does, even though it's just as critical.
Templatization keeps pipelines modular, readable, and reusable across projects and environments.
A Clean Folder Structure
Here's a practical way to organize your CI/CD templates (GitHub Actions example):
.
├── .github/
│   └── workflows/
│       ├── build.yml
│       ├── deploy.yml
│       └── templates/
│           ├── steps/
│           │   ├── build-node-app.yml
│           │   ├── build-dotnet-app.yml
│           │   └── push-to-acr.yml
│           ├── jobs/
│           │   ├── lint-and-test.yml
│           │   ├── docker-build.yml
│           │   └── deploy-to-aks.yml
│           └── common/
│               ├── variables.yml
│               └── environment.yml
└── scripts/
    ├── cleanup.sh
    └── versioning.ps1
Best Practices for Templatization
Use templates for repeated steps — Instead of defining the same "Build and Push Image" job in multiple pipelines, create one template and call it wherever needed:
jobs:
  - template: templates/jobs/docker-build.yml
    parameters:
      imageName: myapp
      tag: $(Build.BuildId)
Keep environment configs separate — Define environment-specific variables in isolated files:
variables:
  - template: templates/common/environment.yml
Follow a consistent naming convention — Use clear, scoped names:
env.DATABASE_URL
build.IMAGE_TAG
deploy.NAMESPACE
Avoid cryptic names like dbUrl or imgTg.
Keep logic in scripts, not YAML — YAML is for configuration. Complex logic belongs in versioned shell or PowerShell scripts under /scripts, called from your pipeline.
Add comments like production code — Explain why a step exists, not just what it does.
Lint your pipelines — Use tools like actionlint (GitHub) or yamllint to catch issues early.
Apply DRY (Don't Repeat Yourself) — If three or more lines repeat across multiple pipelines, it's time to extract a template.
A messy pipeline is easy to write but painful to maintain. When something breaks at 2 AM, nobody wants to debug 600 lines of uncommented YAML.
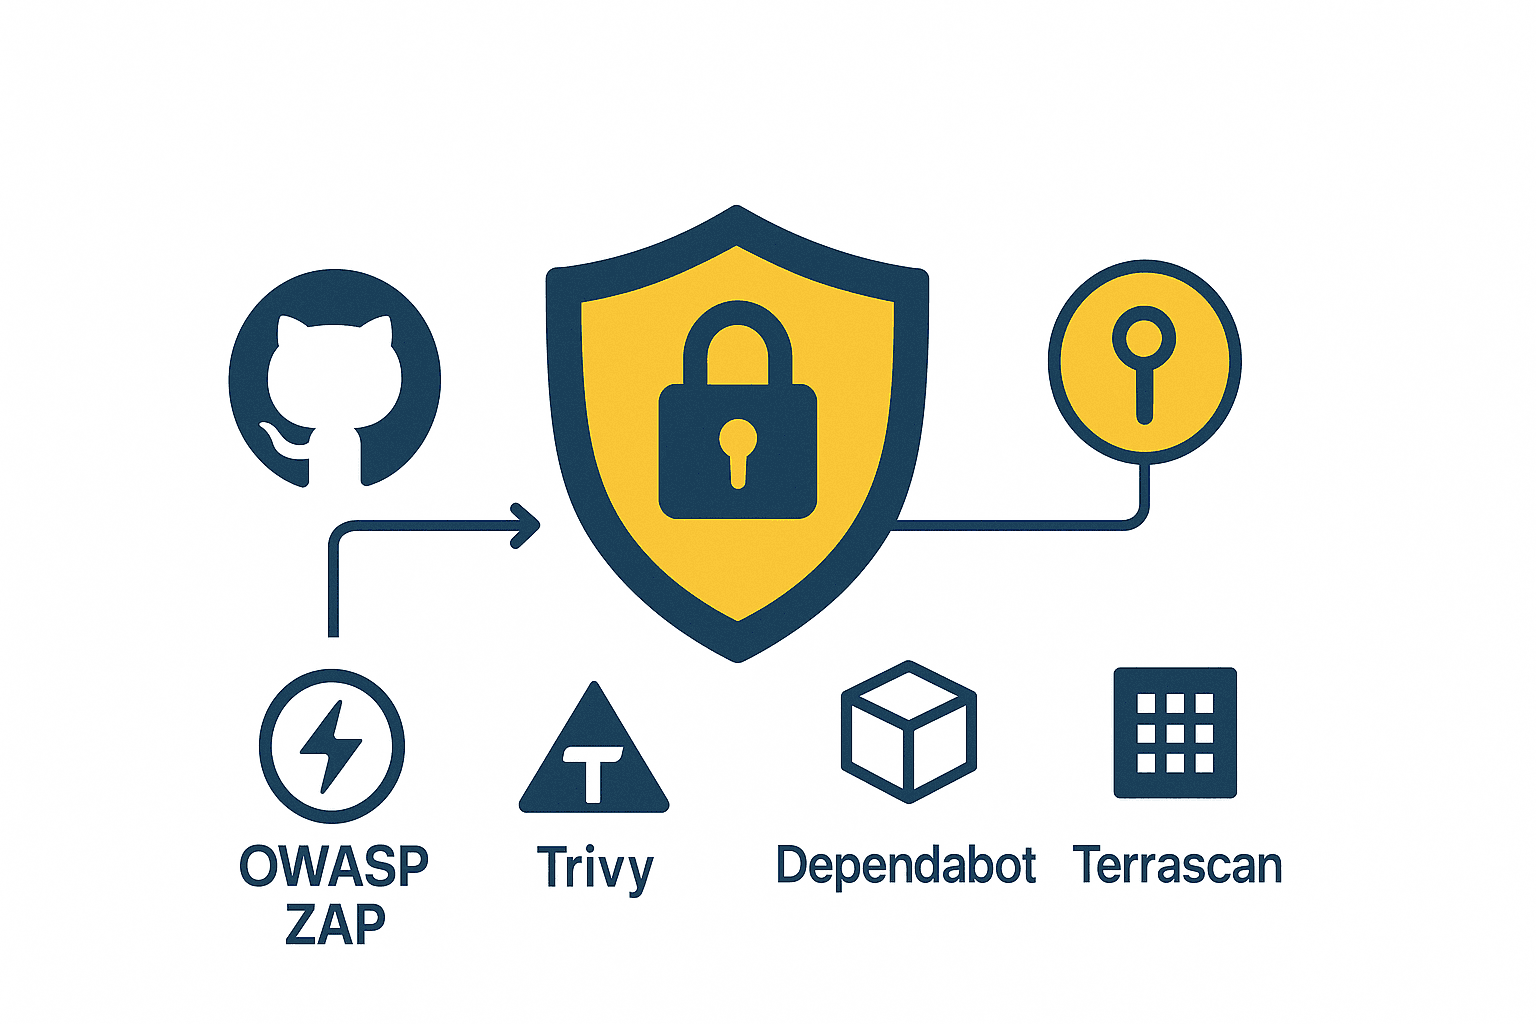
6. Security from Day One — The DevSecOps Mindset
In most projects, security is treated as something to "add later." But by the time a product is running in production, fixing vulnerabilities costs significantly more time, effort, and money than preventing them early.
DevSecOps means building security into every stage of your pipeline — from code commits to deployments. This includes:
🔍 Secret scanning — catch accidentally committed credentials before they're pushed
📦 Dependency checks — flag known vulnerabilities in your libraries
🐳 Container vulnerability scans — inspect your Docker images before deployment
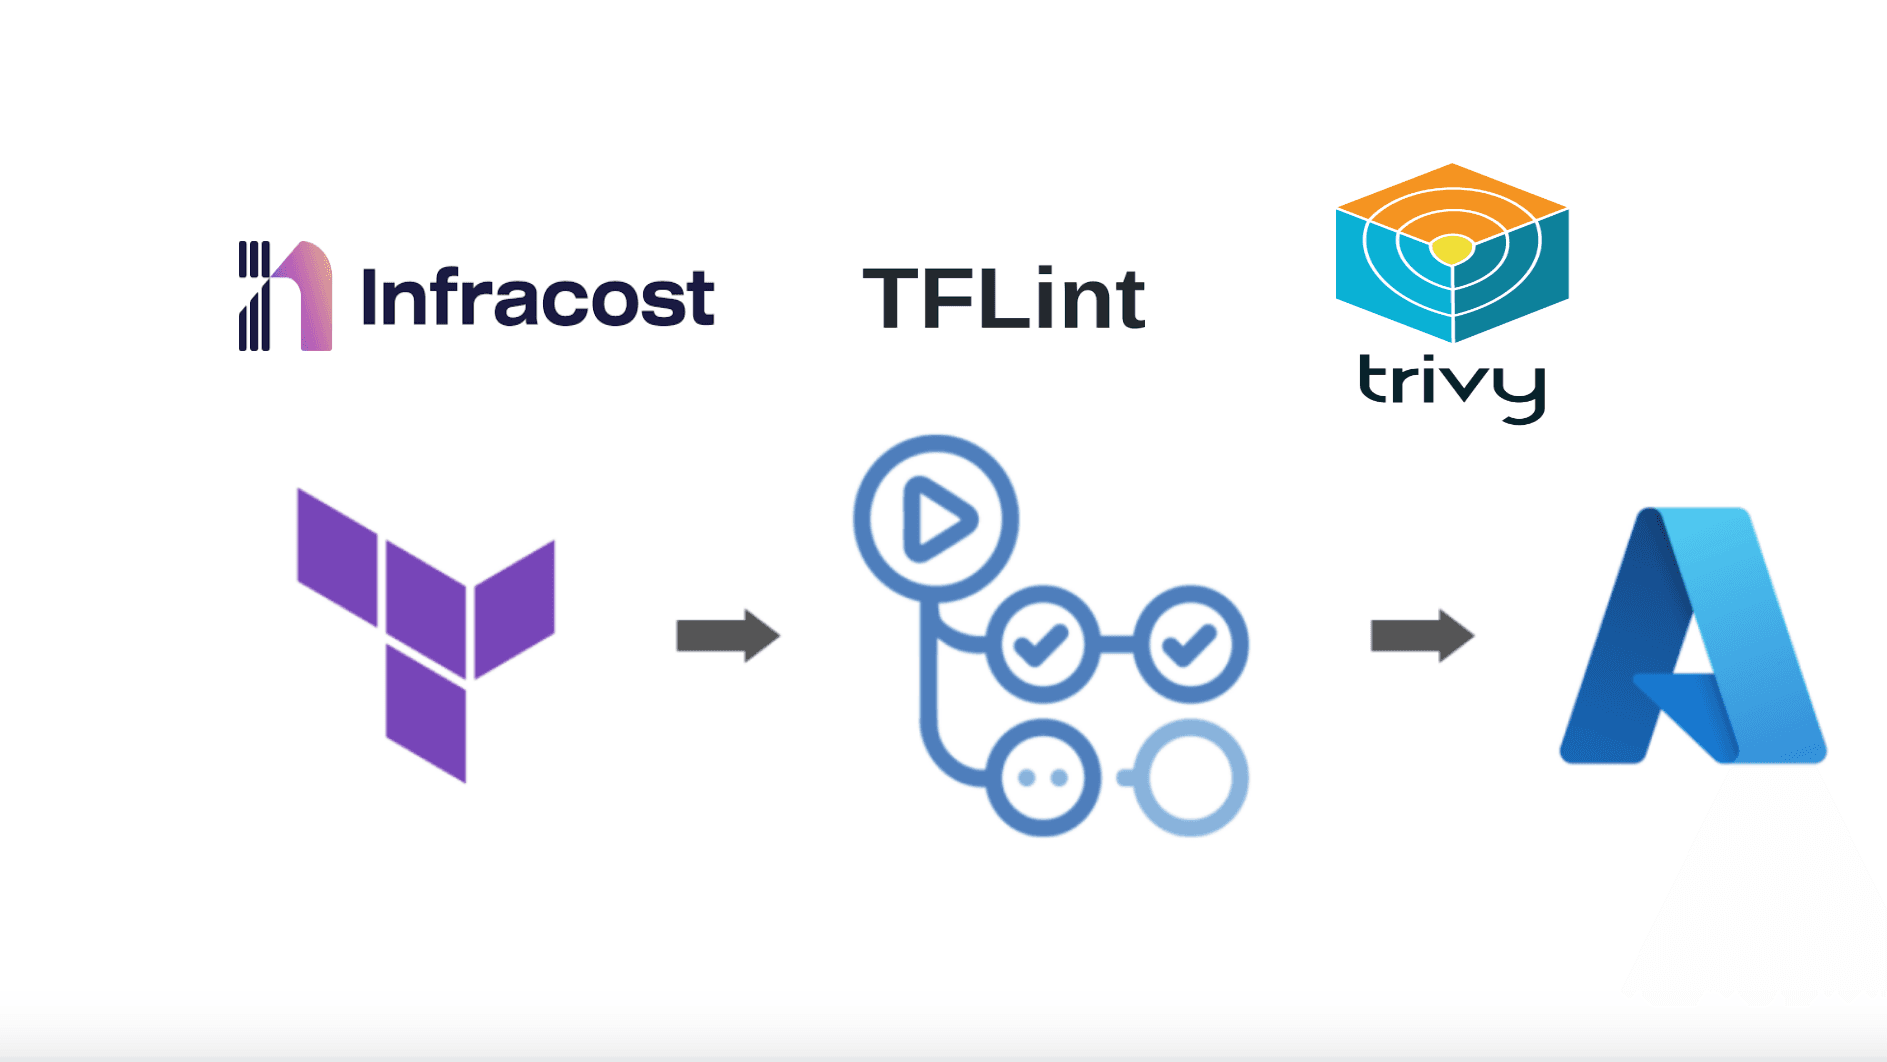
🏗️ IaC validation — lint and audit your Terraform, Helm charts, and Kubernetes manifests
Adding these checks directly into your CI/CD pipeline turns security into a natural part of your workflow, not a separate audit phase.
Security isn't a phase at the end of the project — it's part of how you build, test, and ship from day one. This approach saves time, prevents costly breaches, and builds trust in what you deliver.
For a deeper look, check out: Essential Tools for a Secure DevSecOps Pipeline
7. Don't Just Add Tools — Use Their Full Potential
Many teams proudly say, "We've added Flux, Traefik, Prometheus..." — but just installing tools doesn't mean you're getting their real value. Tools are powerful only when you understand and leverage their automation and integration features fully.
Example 1: Flux — Automated Image Deployment
Flux isn't just a GitOps sync tool — it can also automate image updates.
Say you push a new Docker image myapp:v2.0.0 to your container registry. Instead of manually updating your HelmRelease or values.yaml, Flux can automatically:
Detect the new image tag from the registry
Update the image version in Git
Commit that change automatically
Sync it to your cluster
Your entire deployment pipeline becomes self-updating — zero manual changes required.
Most teams stop at GitOps sync and never enable image automation, which is one of Flux's most powerful features.
Example 2: Traefik — Built-in Observability
Traefik isn't just an ingress controller — it ships with a built-in dashboard and Prometheus metrics showing real-time traffic, routes, SSL certificate status, and backend health.
In lightweight clusters like k3s, Traefik is already included by default. By simply enabling its dashboard and metrics, you can:
Monitor all ingress routes visually
Debug traffic flow without tailing endless logs
Spot unhealthy services at a glance
Most teams install Traefik and never explore these features — leaving easy visibility and debugging power on the table.
The Bigger Lesson
Every tool you adopt has capabilities that can save hours of manual work, prevent mistakes, and improve reliability. Taking the time to explore them fully is what separates a team that uses DevOps tools from one that leverages them.
Don't stop at installation. Learn what your tools can really do — that's where DevOps transforms from scripts and dashboards into true automation and reliability.
Closing Thoughts
A mature DevOps setup isn't built overnight, and it's not just about the tools you pick. It's about the principles behind them — treating Git as the source of truth, keeping secrets safe, writing pipelines like production code, and weaving security in from the start.
When you combine GitOps with structured pipelines, proper secrets management, and a mindset of using tools to their full potential, you stop firefighting and start building systems that are genuinely reliable, auditable, and easy to hand off to any engineer on your team.
That's DevOps done right.